Showing posts with label michael mok. Show all posts

Monday, July 23, 2012

Behind the Apocalypse

So by now, my trailer for the dubstep remix mashup of Rob Zombie tunage is passing 900 views!  I'm really surprised at how quickly this has spread!  However I know it's got a lot of confusion and curiosity surrounding it.  I'd like to clarify just what I'm doing both on the remix, as well as a breakdown of the work I did putting together the trailer spot.

Firstly, I intend to make an hour long mash-up that can be made available by the end of this year; as for how it will be available I'm not entirely sure just yet .

(If you want to support this project, please sign up on Rob's forums and support me on this topic here, you'll see what I'm trying to do).  

What is this mash-up?  I'm building my own remixes as I go, arranging the mash-up in one single project.   The Theme is that it's all Rob Zombie's music, hence the title "Zombie Apocalypse".  Pretty cool huh?

Let's rewind back to about the end of April.  I started a remix project to kind of play around with some dubstep techniques as Troy was doing a homework assignment making a remix of whatever he wanted, to submit for classes he was taking at Pyramind.  We had talked about it a week or so prior and then I had mentioned the idea of doing a "Zombie" remix to some other friends.  Then the dubstep practice project became a full-fledged idea and I thought, eh... why not?

I started working on it little bits and pieces at a time, and didn't really make much progress the first month or so.  It wouldn't be until June where I reached a 3-4 minute mark on the mashup arrangement that I really fleshed out all the details.  I've been busy working small jobs trying to keep income flowing: recording local clients, doing commercial video production as (paid) favors of Harry Mok.

July is already here and I needed to get some motivation behind this project, and decided the first week of July that I want to build a trailer to get some exposure going, and minimally "show-off" some of the completed sections I had built of the mashup.  Keep in mind it's still being built and there's hardly any mixing done on it!

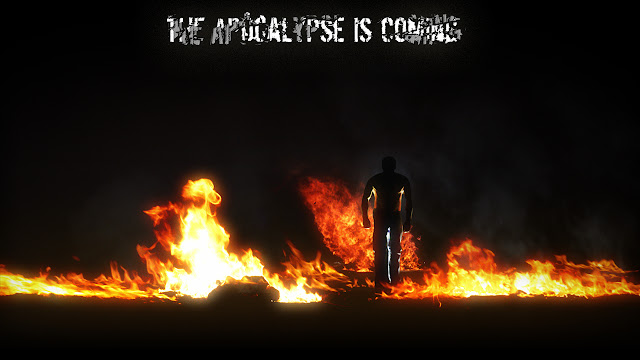
I had an inkling in my head of how I wanted the trailer to come across, and set about building the layout up in After Effects.  The first part was easy, simple intro playing off the theme idea for "Zombie" and end of the world theme: a cinematic optical flare with dust flying around in the air, as the camera pans downward to reveal a world in flames, with someone rising slowly in them.  At this moment I purely just jotted down the idea to come back to later on and try to tackle how I would build it.
Once some quick motion graphics were roughed out I had to plan out the rest of the trailer segments. I needed a "script".  What do I want the commercial to say?  What am I getting across?  Quick tip: Always keep a notepad and pen on your desk for quick jotting down of ideas.  I actually prefer this for day-to-day use as I often will write and re-write TO-DO lists of things on my plate I want or need to get done.  This keeps down on clutter on my screen as I used to prefer the Sticky Notes utility that comes with Windows 7.

As I built the trailer I went through about 3 versions of the script as I expanded on the content to fill 60 seconds of play.

There are a lot of video elements that are layered together and the hardest and probably the most complex part was the fire man segment with me standing up in the flames.  The first thing I built was the flame sequence.  Many video layers placed in 3d space within After Effects, along with separate smoke elements.

Once I got the rough camera motion down and timed everything out. I figured the opening sequence should take a total of 20 seconds even, and the fire segment making for a total of 7 of those seconds.

Timing has to match perfectly, and when it came time to shoot the plate I rallied in my favors I had been doing for the Mok family and they happily provided the lighting equipment and backdrop stands.  Mok and I went shopping for a backdrop cloth that I could use to block out the exterior location from my shot (I shot outside in front of my house at night).

I called in another favor to a good friend of mine Tomas who let me borrow his DSLR as backup (which I ended up using as Troy's was having issues).  Michael Mok & I started setting up at about 9:30 pm.  You can see the setup below in the raw capture on the left and Photoshopped on the right.
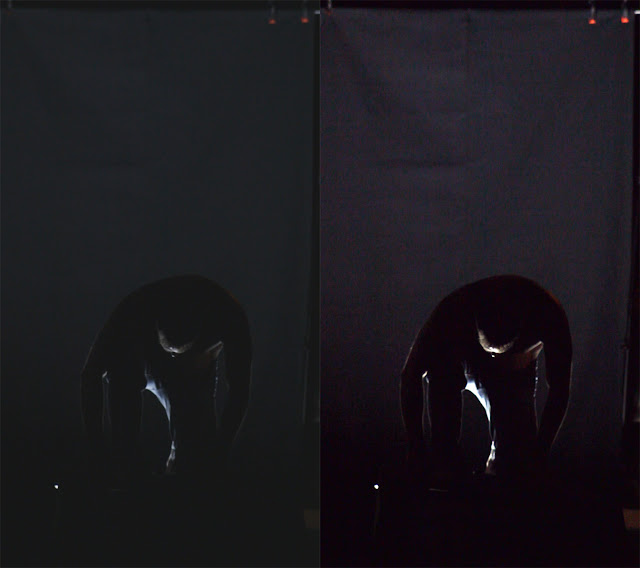
Just a quick run-down of the "stage" layout: 

For the stage itself we used a cutting desk in the garage that has collapse-able sides and layed it on it's side, but that alone still wasn't tall enough to hide the softbox from the camera, so I grabbed two 2x4x8's that we had laying around because Troy and I have been busy building him a custom desk.  These raised it enough and kept it steady when I stood on it so it would not move.  

The black cloth I got just over 9 yards of in length and came at a decent width of 60".  This worked out perfectly as the backdrop stands we ended up having raised about 8+ feet in the air to cover not only my height for the angle of the camera but also accommodate the fact that the stage was increasing that height.

We did 3 sets, the first set of takes we brought inside immediately to ingest into After Effects to see how the footage looked.  I immediately noticed just how bad of camera shake there was even on a tripod.  As you can see from the screen grabs above we shot the footage vertically to maximize the use of space in the footage, which meant we couldn't use Mok's solid production tripod and instead had to shoot with a cheaper tripod.  It was windy out that night, and that coupled with a DSLR that weighs more than the tripod holding a camera vertically meant it would shake easily.  

Normally this kind of wind shake wouldn't be noticeable for a standard kit lens, but we were shooting with an older Canon EF 75-300mm that I borrowed from my older film canon SLR.

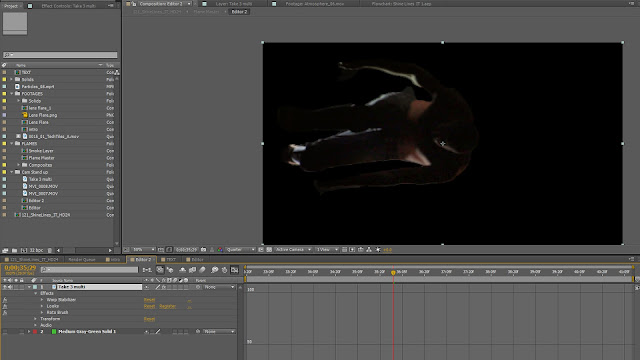
The last take on the last set was the final pick I ended up using to build the composition with in After Effects.  The first step was selecting out the clip segment I would use in the timeline and trimming out the rest, then warp stabilizing the footage.
The Rotobrush was then used to comp out the background.  This took quite a bit of work as I manually went in on a lot of the frames to get close to the look I wanted making sure the brushing worked to my advantage and wasn't too crisp or too blurry letting in any background.
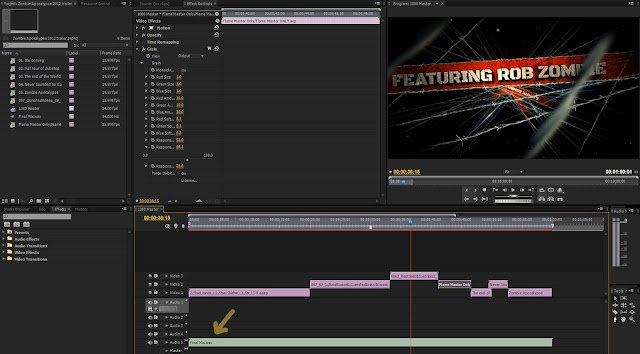
In Premier Pro you can see how the final timing of the sequence looks.  Notice only 1 audio track which says final mix. 
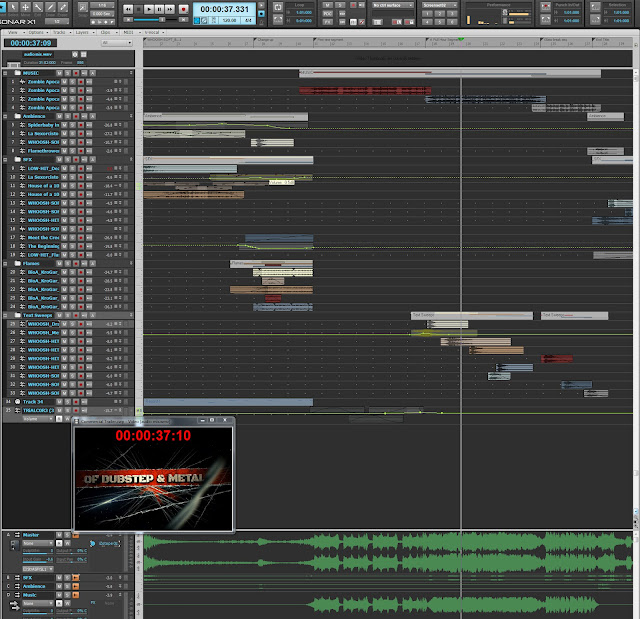
What I normally do with Premier is export out to OMF whatever audio is in my sequence if i'm working with video files that have audio (DSLR's, or synced Zoom H4n handheld recorder samples).  In this case, I simply render a WMV at 720p low quality but decent enough to work in Sonar with.
By the time I got down to doing the final iteration with the last after effects segment I had built, and dropped into the timeline, the project was unwieldy and premier and After Effects would be really slow to respond a lot of the time so I only had my previous audio mixing render to work from which remained blank.

This left some guess work to the timing.  And unfortunately, it takes almost as long to build preview renders with in premier pro to at least see if audio and video sync and i was just trying to wrap it up and get it online.

If I had all the time in the world to put into making it there are definitely things I would go back and refine but overall this was a solid 2, maybe 3 days of work comfortably I managed in my free time across 3 weeks.  And now, back to remixing!

Still to come: A commercial campaign I worked on in May will be published shortly as well as a behind the scenes reel so keep an eye out for more updates as there will be a couple of posts about it here as well.  Then, another commercial spot I worked on is out for VFX right now, but once that one is published I'll have a segment on that too.

Several other projects in the works, building a demo reel for a model and actress friend of mine. On a side noteI recently did music and audio post for this little preview:
Yuki Noguchi who I worked with back in January also shot the ACE Rail commercial, did an excellent job on this!  The clients wanted something a little more energetic and building motion to what was happening on picture than the temp music they had.

Lastly, I will be resuming and finishing up the RPM challenge episodes (3 left) for our studio's channel, as well as building a behind the scenes documentary for the Ace Rail commercial mentioned above.  Lots of stuff coming!

Sunday, December 4, 2011

Update this!

If you haven't noticed (or if this is your first time visiting) I've redesigned the layout!  Let me know how you like it.  I do have quite a few things to share however: first being I've just uploaded the entire RPM Challenge Album for everyone to download - FREE!

Borderline Soundtrack (16 songs in 192kbps mp3, album art, and readme.txt) - 128 mb zip file

I've got some new fractals I'm working on to add to the Aural Ascendancy series gallery I have.  Those will be going up soon.  I've also been busy drawing up more of my short skit storyboard and working on building the 2nd episode to the RPM Challenge we did back in February.  If you missed the first one:


The last week has been kind of crazy prepping for a last minute shoot in LA that didn't go through but there's still a project to come of that (supposedly).  Harry wanted my help in putting together a plan of attack for doing a timelapse for a corporate video project or just plain to have for whatever the company wants it for.  I did some research just to make sure I was up-to-date on all the options and narrowed it down to 2 options: 1-2 DSLR's with kit lenses; or a few GoPro Hero HD cameras.  I had very little information on the project to go by other than it's for a 3 week construction project.

He asked me to come up with a solution to tackle the time-lapse, and to get ready to go down to LA with Michael Mok on Thursday (just three days later) stay the night a motel and be up early enough to head out to the campus grounds where they are to start construction Friday morning.  Mok and I would set up the time-lapse system and then proceed to get some interview and B-roll footage; wrap up and head back home that same day.

So, I roughly dove into the world of time-lapses and cameras.  My first solution was to keep a budget in mind (which I had no point of reference whatsoever).  My first thought was to check out GoPro as Mok and I had used them on our previous venture for the Reality Series pilot we were shooting for a previously discussed producer (see A Dashboard Confession).

We all know what a time-lapse is so I'll skip the descriptive analysis.  What it comes down to is that The GoPros offer a very affordable solution that's also easy to setup, but somewhat limited on time-lapse management.  The whole situation calls for us to set it up and leave it, and GoPros only run with an SD card.  I ran into these factors that I immediately emailed GoPro about as I was emailing the pitch to Harry:
  • Can I charge and operate them at the same time?
  • What's the longest amount of time I can leave them unattended?
  • How can I manage the media?
The GoPro support team is amazing! Not only were they quick to respond but they took the time and went the extra mile crunching numbers and giving me some great reference points by telling me exactly how many frames at 5-megapixels I would be able to get on a 32gb SD card, and due to the fact that the cameras shoot at 60 second intervals max, a frame every minute if the camera were to shoot around the clock would last only 1 week.

So here was my pitch to Harry as I was contacting GoPro:

Option 1: 
  •   - Retails $200
  The interesting part is that it's a 5 megapixel camera which is more than double the resolution for HDTV 1080p which gives plenty of room for crop and pan movements to spice up the timelapse.  The downside is I'm not sure what the maximum length of time we'd be able to leave them up to capture until I get a response back from GoPro about several questions I asked them.  This solution however would be an affordable way to get multiple cameras up for multiple angles.

Some accessories to consider:
  •  - Retails $50
  • USB AC Charger
  •  - Retails $20
  As i can't find any documentation and am currently contacting GoPro about seeing whether you can charge and use the camera at the same time; this may be a necessary item for each Camera.  The SD Card price is based on their website though i'm sure we can find cheaper elsewhere.   When i contacted GoPro I submitted a question involving whether or not the cameras can be tethered to a computer for storage and capture which would bypass the need for SD cards, I'll let you know the results as soon as I get a response from them.


Option 2:
  12 megapixel camera, kit includes 18-55mm lens which for covering the viewing angle of the landscape we'd want to cover should be more than good enough, Canon lenses are also good quality optics too though we'd have to play a bit with settings before starting timelapse.  The cameras ARE definitely able to hook up to a computer to control the time interval and store the photos away from the camera.  This however does require quite a bit more setup, programming the camera for the best picture mode I can handle well enough but these cameras are quite a bit larger than the GoPro's and will stand out wherever these are put up on campus.  The advantage of having a camera like this is we can greatly control the capture interval for more effective file management.  If we know exactly how long we want the timelapse to be compressed (3 weeks to 2 minutes for example, we can set the interval accordingly with the accessories).

Some Accessories to consider:
  • Camera Armor
    • Retails anywhere from $15 - $50
    • Absolutely necessary for outdoors and on top of this I'd suggest black trash bags to wrap around and cover the camera and only expose the lens (use lens hoods too).  Covering with trash bags should help hide the cameras but I wouldn't rely on it as a theft deterrent.
  • Battery Grip
    • Retails $50 - $80
  • Extra Batteries for Grip
    • Retails $49.99
  • Lens Filters - UV, and possibly others.
  • 32gb SD card or larger
  • OR laptop or computer source to hook up and control remotely for storage and transfer.

  With the DSLR's we'd have to figure out a mounting option for getting the perspectives we might want, I would expect we'd want more bird's eye views or high vantage points as well as something eye level if necessary.  It really depends on the location.  If you have the address perhaps we can look it up on google maps and get an idea of the space we're working with.

  There's advantages to getting either option.  There are other camera systems like PTZ (Pan-Tilt-Zoom) setups where we can completely remotely control them but are VERY costly ($10,000+ when you consider the broadcast and controller equipment just for a single camera).  I think either of these options should be feasible, just depends on what you want to budget.  The GoPros are the most affordable so we COULD get a decent array going for several points of view to cut to and from.  The downside is if we can only capture onboard the maximum interval length is a picture every minute.  Therefore we have (speculatively) very little control over our time-lapse management.    Option 2 with the DSLR's is quite a bit more expensive which may limit our number of POV shots we can get, but may yield MUCH more control over timelapse management and greater quality image capture due to higher resolution.  Another option that the DSLR's give an advantage over is shooting in Canon RAW (much larger file size) to allow for even more vivid image control in post (better contrast and brightness control in case of severe weather and lighting conditions).  The DSLR's however are still considered entry level and are limited on other formats and features like recording HD video (720p max) compared to other higher end models that can better suit other productions later on.  Image quality-wise the picture would be even greater and higher fidelity than the Sony Z1u you currently use now, but due to the resolution restrictions this wouldn't be an ideal camera for productions so flexibility as a production asset would be minimal and very specific.  The GoPros come with all-weather housing and can even go underwater, which make them extremely versatile and affordable.  These can easily come in handy for productions later on if necessary.  Not to mention the accessories like the Wifi bacpac for remotely viewing and controlling the GoPro cameras (this will be available February next year) will make them even more controllable than they are now.
  Let me know if you need further information on anything or have questions about any of this.  This is just a rough outline.  I could also look up some consumer HD Video cameras as alternatives but usually sensor quality is poor compared to the DSLR's or GoPros and often don't have Timelapse mode support (only 1 or 2 canon and Sony models i can think of actually have specific Timelapse modes featured on their camcorders).
Timelapse Considerations:
Shooting with GoPros would yield a high frame-count which would require cutting out a lot of unnecessary footage (cannot start and stop them).  They also do not (yet) tether.  However, due to their size and even without the waterproof case they are extremely durable and make it very easy to set them up and let them shoot just about anywhere.

With DSLR's it's the opposite:  They are larger, heavier cameras that need good support or some type of fastening system to keep them in place to make sure they don't move.  They have the capability of shooting larger resolutions (you don't have to shoot at the maximum resolution), AND can even give an advantage by shooting in raw.  However, file sizes go up exponentially by shooting in Raw which is another constraint if you're operating off of memory cards.  The other advantage with them is that they can be tethered to a computer to manage file storage and time-lapse management.  This would allow us to be more efficient in controlling when the camera will shoot and what interval to capture frames in so that we get the time-lapse just right without excessive data to have to manage later on.  The issue with tethering is the software running on the computer only manages 1 camera (as far as I've seen).  If you want multiple DSLR setup you're going to need multiple computers to remotely manage them, which also needs to be in a secure location and protected from weather; not to mention having to acquire a computer to attach to the camera is an expense in and of itself.

These cameras are pretty easy to spot, and are also susceptible to cold temperatures or weather conditions so accessories like UV filters, anti-fog or moisture applications to put on said filters, and plastric trash bags to cover the camera and leave only the lens exposed are all good considerations not only for protecting the camera but also to help deter from possible theft or vandalism.

As with both solutions. they can run on AC power and operate simultaneously, but usually when you're doing timelapses its often in places that are a challenge to get AC power to.  The final factor one may have to bring into consideration is a battery backup / generator solution that can maintain the setup in the event there is no AC power available on-location.

What are your thoughts or experiences on shooting timelapses?  What was your solutions for complex scheduling or longer-length projects?  I'd love to hear your comments and feedback!

Wednesday, October 5, 2011

Zombie Appreciation

I cannot seem to find enough time in the day to get to this thing!  The last couple weeks have blasted by. 

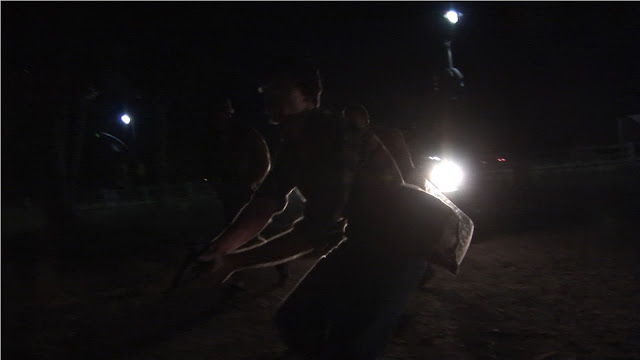
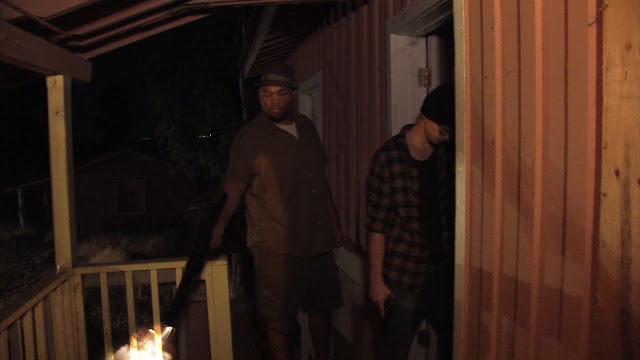
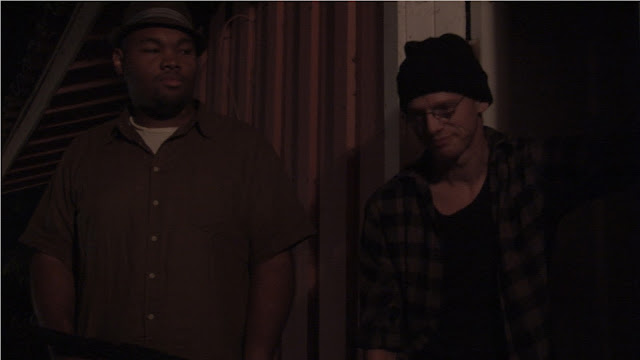
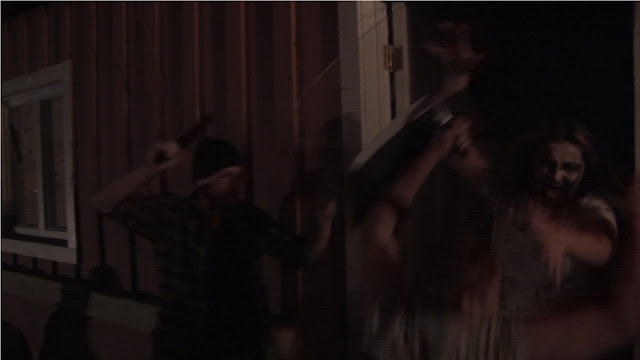
I suppose first things first:  The first skit we filmed almost three weeks back was a Zombie skit in collaboration with Underpaid Heroes project with Troy Norcross.  The whole thing was improvised on location, not to mention slightly less than legal it turns out!


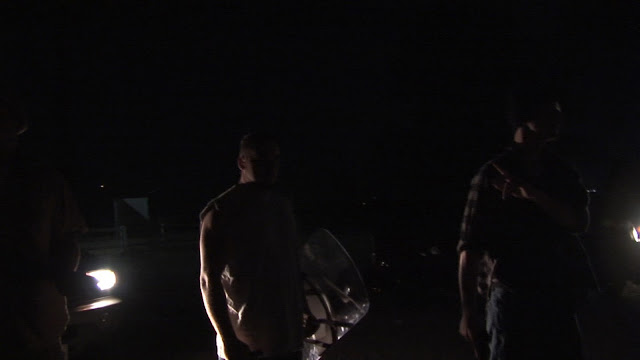
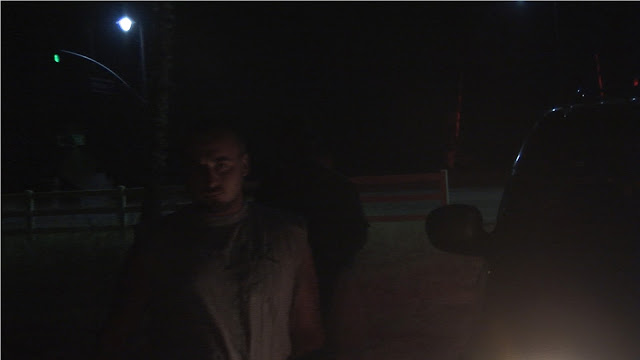
Troy led the skit idea,  It took us a while to get makeup done on 2 zombies.  A few hours longer than expected running the whole production on account of the Navigator battery dying because of improvised lighting with the cars and 1 mobile spotlight being run from a power inverter (yay for homebrew videography)!

We tried to race through a lot of the shots with a tight time-table.  Mok operated the Camera hand-held and I ran the Shotgun mic the same.  There was hardly any time to plan out camera angles and really understand what the group wanted to do action-wise.


We ran out of time to really make sure we got all the shots we wanted to make the scene complete on account of it being after 3 AM by the time we shot the last bits.  The next day we dubbed the tape to Premier and built a rough edit in just 30 minutes.


With only a mono audio source to play with there would be a limited pallete of real-world audio to play with and a lot of sound replacement.  I refined the rough edit Mok had done and proceeded to the visual FX for several shots that happen in the skit.


Getting to Picture lock was fairly easy with the minimal VFX shots we had to work on.  The final edit still needs bumpers and motion graphics for the titles.

While the picture was pretty much complete aside from those elements I headed to audio and proceeded to break apart the audio.


I quickly went through the audio from each of the takes to pull apart the vocals, and then find useful ambiance to overlay or if it included Foley for footfalls etc. I moved them into timing and copied the audio where necessary. I could only do so much with most of the audio, so I proceeded to then mark spots and add in sound effects for replacement, and then foley and sound effects for enhancement.


First, iZotope's Ozone 4 was used to analyze the entire audio track before any noise reduction was applied to capture the EQ profile of the Rode NTG-3 mic's on-location audio.  The next step was the most time consuming.

I had to go through one clip at a time for each cut I made in the timeline to analyze and apply noise reduction for each separate take that followed the take from the video.  Once the noise profile was captured for that take, I could simply copy the plugin to the next clip I cut.  The plugin is very processor intensive so I had to bounce each clip after the noise reduction was applied.


We also had to replace quite a bit of Voice work from the on-location audio as it was too compressed and the impact noises with the gravel and dirt muddy up the mix.  I setup my shotgun mic outside my room and had everyone record their parts to the video.  I then applied the Ozone EQ matching profiles to the new material.

I still have to head into surround mix, and compose the underscore to the skit and then apply the final film grading and review before it's done.

Not sure if zombie is zombie or clown...
fast zombie = fast...
Hit the deck!
Kaplow!
Who plow?
Homie don't play dat.
Horror scene, or eerie homo-erotic love scene?

Yup, eerie homo-erotic love scene..

So, I have to get back to my busy schedule.  I will definitely be adding more up very soon of the other projects I've been working on.  Now, off to gym!

Monday, September 19, 2011

What did I miss?

Well I can see it's been a while since i've posted anything on here.  No, I'm not dead; i'm Not lazy I swear; and no I'm not reading your mind.

I had to attend my Friend's wedding the first weekend in September, and boy was it hot!  Fun weekend though, found some interesting carvings at the park where we went discgolfing:


Anyway, It's been a busy week or two since.  Back and forth getting new projects going with friends, and trying to clean up and maintain the plethora of computers I have running can get a bit time consuming.

My main workstation needed some TLC, so my friend Mok and I took a compressor to it and blew out all the dust that I could, cleaned up as much dirt buildup and then proceeded to take apart my graphics card and CPU to redo the thermal compound on them.  

Normally, Isopropyl alcohol should do the job on electronics... However, depending on what percentage you use and how much you use, it tends to leave a film, and for critical heat producing components this could be problematic.
This is all we had though.  So, I set about cleaning after I had taken apart my graphics card.
There's the plastic cover that creates the tunnel for the airflow to direct itself into the and out of the heatsink,  and a metal chassis piece that provides much stability to creating pressure and sealing contact against the heat producing components like the RAM and other bits that have thermal pads covering them.  All the thermal pads were dried up and disintegrating so I cleaned all that off.
  
The Heat sink had most of the Thermal compound on it, and was extremely dried up, we could see cracks and dry spots on the heatsink as well as the GPU.
The only thing I worried about was the invisible layer of film residue left behind by the quick-drying isopropyl on the GTX480.
I took the time to cut up some pieces of thermal pads i had laying around from old hard drive kits, and replaced them over the RAM and components that were originally covered before.  The pads I had were pretty thick so once I finished cutting them, I could put the metal chassis back onto the card and then worry about the heatsink and GPU itself afterward.

 
Mok explained to me the finer points of placing Thermal compound in patterns so as not to cause bubbles.

In this Quick link is an interesting video to show what happens with different types of thermal compound and the spreading process when clamping a heatsink onto the exposed surface.

Another thing to be aware of is how the Heatsink's contact surface is shaped (which isn't very easy to spot if u ask me).
The same guy that made the video also made this image for explanation.

So, chassis piece put back together, time to apply thermal compound and get this beast back together!

We got my PC back up and running and kept eyes on the temperatures of everything.  While things were running quite hot at first they've since leveled out to more reasonable temperatures.  Next time only 99% Isopropyl  (license required).

Did I mention we got it up and running just in time to start importing and editing footage from a shoot we did a late night before?  Anyway, I'll be posting a separate topic on that shortly, but first.  The rest of this madness on computer cleaning continued later in the week when I found time to clean out and re-do the thermal compound on two of my server computers.

The first server computer I have is my previous build, an intel core 2 duo with a Geforce 7900 GT card, which I haven't touched since I purchased it.  It desparately needed some new compound!

 
The RAM seated around the chip is completely exposed to the air and apparently doesn't get that hot (most likely due to the speed compared to newer cards - for example the clock speed on the GTX 480 is 1700 mhz), a card this old doesn't run that fast.

Back in it went, and then time for the CPU.  It wasn't so tough, aside from the silly way they mount it!  Had to use some unorthodox methods of push and pull, though I really liked the quick release screws with quarter turn heads.  Very easy!
 
The CPU compound was completely dry, cracked and in desperate need of replacement,  a quick clean job (i'm getting used to this), and back in everything went.
The last thing on the list was the case was removing the broken 200mm case fan.
Clearly cracked down the center, I'm not sure why.  I think I got the case with the fan already broken as the case box was retaped several times when I purchased it from the local Best Buy.  Ohwell, simple fix with some gorilla glue ought to fix this guy right up.
The last machine was an older server I put together running an AMD Athlon XP 2.4 ghz single core with 2 gb of RAM and a cheapo graphics card just for getting a video output.  It's been an awesome machine for it's age and using it as a file and media server, even after all these years of abuse, it's running like a champ!  However, the thermal compound is almost as old as it is, so I took the time to redo the CPU as well.

I refrained from taking pictures because it's just more of the same.  Anyway, on to the next topic; next blog post!