Showing posts with label editing. Show all posts

Friday, August 31, 2012

What Does A Ninja Sound Like?

Welcome back to part two.  It's been getting a bit hectic trying to wrap up several projects and get a ton of new stuff rolling but I'm going to get a little more technical and in-depth on this article because I wanted to share some more in-depth information.  

I should note that my production workflow has been extremely loose from project to project in terms of sync and audio capture.  I don't normally bring in my audio and try to sync inside of my NLE.  Instead, what I do is just leave the in-camera audio on the NLE's primary audio track and label it Scratch.  During picture lock, which is the stage in which I can safely say I will no longer be making any time-based changes to my arrangement of clips or their lengths I begin exporting the project to work in my DAW.  Typically this is done via OMF export options.

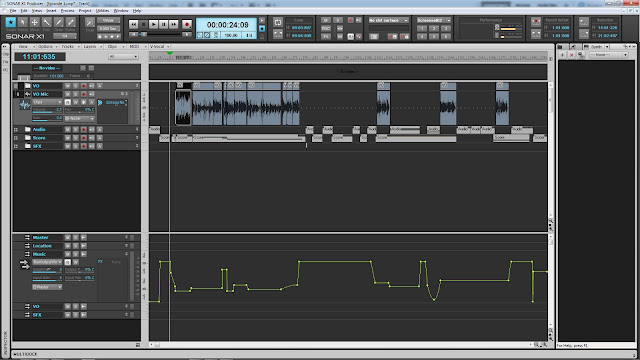
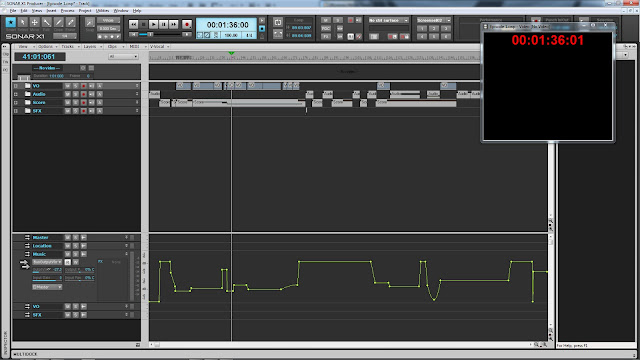
 One thing I always do as I start editing and importing audio into Sonar is it's crucial to find the spots where transitions or cuts happen in the video.  As I work to the picture and import my sounds and start placing them on the timeline I find the cuts in the video and place markers on my timeline for easier recall.
This has helped saved time especially as a workaround for Sonar's lack of real-time video scrubbing (at least for me).  It seems that for some reason no matter which file format I work in or resolution (HD / SD) I still have buffering issues with Sonar: The further away from the beginning of the timeline I get the longer it takes to respond to user input.  In this regard I think my next video projects I'll try Avid Pro Tools seeing as how they've had a long-standing history with working to picture as it's been the industry standard for such a long time.  I just haven't had the chance to do this yet, as Sonar is my most comfortable DAW and one I instinctively gravitate to.

A huge workflow tip: as I edit and mix is using the clip features in Sonar such as creating clip groups to keep multiple audio tracks in sync with each other.
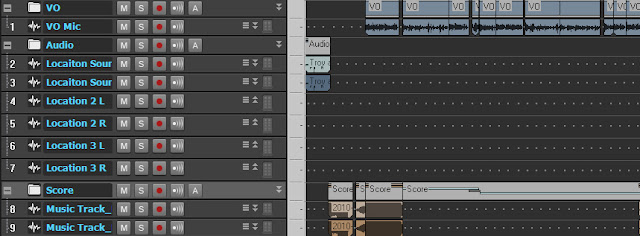
This practice helps keep me moving through spots quicker.  Even in the picture above there are 2 clips overlapping in each of the audio tracks.  I grouped each one separate so I can still edit the timings between the clips if I need to.  You can also group large quantities of clips spanning various tracks together (great after building a "sound" up from various elements and not quite ready to create a bounced stem).  Once these clips are grouped things like slicing and fades and trimming apply uniformly to the entire group.

Once I've got the audio where I want it and things match up to picture well, I make avid and religious use of the clip lock features in Sonar.  I clip locked both the data and the position to show this case:
Sonar allows independent locking of both Position and actual clip data.  I normally just clip lock position and then can come back to it later for doing things like clip automation (gain, fades, etc.) but in this case I don't need to do any of that so I went ahead and locked both position and data.  The biggest benefits for independently locking these two ways of manipulating clips is to accommodate the different workflows: 

Example:
building a sound design element it's usually more crucial to have the sound in sync before working on the actual sculpting of the sound, therefore locking position can assure you that while you affect the clips with plugins, fades, and even trimming (not affected by position lock), the clips are not accidentally moved. 
Example 2:
Clips that require movement but want their particular trims, fades, and other clip-based edits to remain intact while you move them along the timeline, the data lock ensures these do not get altered.

This provides a huge advantage of saving yourself from trouble later on in the event of mishaps like the program locking up or hanging for a moment while you're making selections / deleting / moving things around.  The most common mistake is ending up way ahead in your project before you notice something is missing or has changed due to one of those overlooked circumstances. 

It's Wednesday, May 9th (just over a week after the original shoot) and I've managed to rough in all the audio for the first spot - the 60 second Ninja version.  I first set out to capture the worldization of the music track to blend in with the actual song and give the music some room to sit in the visuals and then pop out when it's supposed to.

It's worth noting the time frame in which I'm working.  We did all of our pick-up shots this same day I'm already beginning audio work on picture-locked versions of the commercial.

Projects like this usually have a 2-3 day turnaround time if not less.  In fact, in a future blog article I will discuss time-frames on my other commercial project Zenergy Band.  Long story short, a full day of shooting with a rough cut turnaround to the client in just 6 hours after the production wrapped.  But for now, back to what Worldization is.

Worldization is a clever yet simple technique (in concept) of playing back a sound or sample into a given environment, and recording the new sound as it's interacting with that environment.

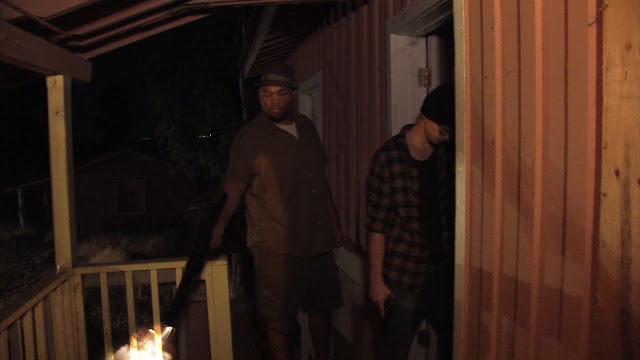
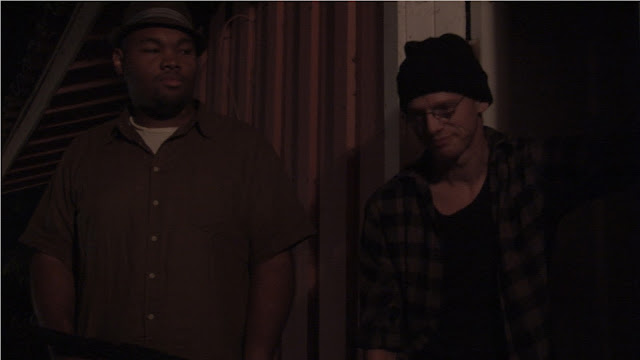
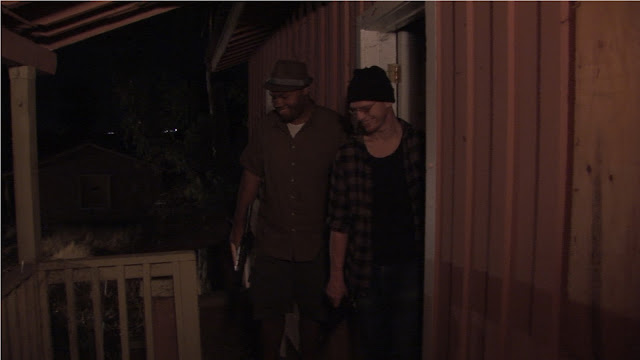
The commercial spot has several different ranges between each of the 3 ninjas and the main actors sitting in the back room.  The music track ended up being a last minute selection to fit the deadline and still fit the mood of the commercial.  Since I can't be on location I set up 3 mics in my house and just used my JBL's to play back the solo'd music track, with the microphones' 'input echo' off (so they don't feedback into the recording).


The first mic I put up was in the middle of the hallway.  I opened the hallway closet up to help with some dampening so it didn't sound completely like a hall.

The 2nd mic is the Audio Technica in the far end of the room adjacent to where I'll be playing the music from.  The Rode NTG-3 is placed closest to the room but facing as off-axis as I can get it, and aimed directly at the wall just feet in front of it almost perpendicular to the direction of the sound source.  This should help enhance low-end reflecting off of boundary surfaces as large as the wall it's aiming at which is also in front of a small cove for the entry way that naturally enhances low frequency content.

So looking at the screenshot above again The green automation lines represent the volume changes throughout the tracks to simulate room changes when the camera cuts between locations.
here it is again if you don't wish to scroll....

The next step was to record Foley for the sword whirling and clothes cutting. I called Troy up to come over and help out as running Foley sessions is a 2 person job at best.  The first thing we discussed was tackling the sword whirling sound and we went through several items and settled on a broken power extension cable.
There's a particular setup I'm using with 3 mics.  I chose this method to give me the greatest range of options for panning and color as each mic is distinctly different.  An Audio Technica 3035 (cardioid condensor), Rode NTG-3, and an AKG C414 in Omni placed high up to get more ambiance.
Moving positions for the "ripping" foley.
The microphones' various recordings came out perfect and I ended up with an LCR approach to the mixing for stereo.  I imagine if I ever had to upfold this project or completely re-mix it for a 5.1 surround track I would have more than ample material to place in the 5.1 mix and still maintain a good balance and presence.

The editing workflow I use is pretty solid to me a this point as I've done several projects that have steadily grown in audio demands and complexity or have allowed me the freedom to experiment (which is a great opportunity to have)! 

While getting to see the project and all the edits I did. It's much more helpful just to describe my workflow and the order I like to do things in.

After capturing the audio the first thing I did was move the audio tracks far down the timeline away from any of the actual commercial material although ideally I would have just created a separate project for the recording session and what I'm about to describe next.

The first actual bit of work I set out on these audio clips is to clean them up, which involves denoising and any sort of effects for processing to get rid of unwanted background noise.  Once these are applied (which I normally do to each clip individually, and not the track), I then bounce the clips to commit the processes to audio.  Then, I begin slicing up all the useful bits and deleting useless audio gaps.
Sonar has a cool little process that can be applied to clips on the timeline that remove silence.  However this tool still requires some finessing and the volume levels of our Foley session vary so greatly it was easier and quicker just to manually slice the bits I needed.  After all the cutting, fades were applied, then came the arrangement of those clips which you can see their final place in the image above.

It's now Thursday, May 10th and I've just gotten to the point where I can transfer all the audio work I've done from the 60 second ninja spot.  I now have to build the audio for the 30 second spot.

I felt like exporting all my tracks out of Sonar individually to try my hand at working to picture in Pro Tools later.  Sonar has some really cool ways to easily bounce tracks and commit to audio all the Effects and even track and bus automation.  Note, this is not my workflow process I used since I actually stayed inside of Sonar for the entirety of the project.  I just want to highlight a really useful feature for quickly getting a project like this out of this daw and quickly into another daw like Pro Tools.

I highlighted all the tracks I want to export individually, and go to File > Export.

This is where I need to pay attention to my output options.  Sonar can output the tracks I want but I don't want it
With Tracks selected under Source Category, I un-check the box for "Track Automation" and since this is bouncing out the tracks individually before they hit the buses I don't have to worry about bus automation.

I normally un-check Fast Bounce just as personal preference but it really doesn't matter as any quality difference between Fast bounce and normal bounce is completely inaudible in most cases.


The next thing to follow immediately when I click save is a dialog box:

Sonar will not let you hit save unless you type something in the file name area.

I chose to simply put B and hit enter and this dialog box appears to confirm the following Actions Sonar is about to perform.

It clearly shows each individual file that's going to be created in the place I chose to save them, and that they all have a prefix "B" and Sonar automatically formats the file name with B-*track name*.wav

A really handy feature to have, as well as time-saving.

Sonar renders out the audio in one pass so it can take a while to process and write all the individual files at once.


I saved out OMF files for each of the individual spots and opted to simply rebuild audio for each of the 4 commercials individually.  I have greater control inside of Sonar and don't have to deal with the limited interchange options for audio from inside of Premiere Pro this way and thus I can move much faster.

The OMF for the 30 second ninja spot gets saved out the new project file.  Import the video track and set up the buses.  Here's the new template:
More cool tips!  Sonar has lots of hotkey commands that help save time.  When opening an OMF the audio tracks are placed on the timeline with the clips properly but the default selection is their outputs just go to your audio hardware's first output, and there are no buses. So the first thing I do is create a master bus.

Right clicking on the bus and you'll be able to see the option to "set as default bus".  A cool time-saver for future tracks that get created will now immediately route to the master bus as their output.

Next I simply create the remaining buses I know i'm going to use for the mix later on and these will all automatically route to "master":
  1. Voice
  2. SFX
  3. Music
Now comes the interesting part.  As I import the audio tracks I tackle track management and start creating folders and sending the tracks to the proper buses.
Here's another cool little time saver.  I can just select the tracks I want to put into a folder, once I have them all selected I just simply right click and there's an option to "move to folder".
This can work in various ways but since Sonar only has 1 folder level to work with, if audio tracks already reside in folders the option will not be there, instead "move to folder" will be replaced with "remove from folder" and then you have the option to place the tracks into existing folders / new folder.

Since I imported the tracks all at once, they are all routed to the master bus. I simply just open up the folder track and select all the tracks within.
Shift+click at the bottom track in the SFX folder to select all of them, which brings up the last track selected in the channel preview on the left side.  The default bus is still Master so hold down CTRL and select "SFX" as the new bus.  this applies the new bus selection to all the selected tracks.

Next, I have all the audio tracks and clips selected in the timeline I want to trim all the silence away and leave me just the audio material clips to move around and re-fit for the 30 second version.
The dialog box appears for the Remove Silence tool.
I set the open and close level to -68 dB.  The settings above seem to produce good cuts without any sudden pops or clicks as the waveform leaves 0 degrees.  The look ahead also gives ample time for changes using the 2 millisecond buffer in the attack and release times.  It's worth noting that I'm choosing to use this tool here instead of earlier doing the original cuts to the foley session as on these rendered out tracks there is "true" silence.  There should be no clutter and I should be left with only the audio clips I want and already edited.

I saved the settings as a preset (because Sonar doesn't come with any default ones). Run the tool.  and below is the result from the trimming.
Now to focus on placement for the 30 second version and figuring out how to tackle the music track for the shorter play time.  It's back to the routine set up, placing markers along the timeline to mark the shot changes in the video.  Moving and trimming the clips to fit the shorter shots, and then re-mixing the music with automation.

Between the 60 second and 30 second versions of the Ninja project, I have all the audio material I need to use these two project files as templates for building the biker's 60 second and 30 second spots.  I simply saved out each project file (copying audio to a new folder) and named it accordingly. This choice in project management allows me to keep additions to sound clips added in for the biker content like the bikes pulling up in their respective project folders and not cluttering up the whole project.
As I wrapped up the first two (one sixty second Ninja and Biker version) I uploaded them privately on youtube for the client to review.  The okay was given and they asked for a 2nd variation at the end where the tag-line was different.  This was a simple edit, in Premier Pro I simply swapped out the last clip with the correct one for the new tag-line, keeping the same length.  In the audio projects I simply saved the project and labelled it "alternate" to identify each of the 4 commercial projects with the new tag-line, dropped in the voice track and synced it up and processed it.

Mixing was a bit more of a duty to attempt uniformity across all the projects but still simple none-the-less.  Since I didn't have any of my plugins or processing done until after all the project files had been duplicated from each other, I simply went in to each track and bus and saved out FX Chains and Presets from the plugins, and simply followed the load-out on each of the projects.

Now, with audio mixed and mastered, I headed back into my premier pro project file and loaded up the appropriate audio files to replace the audio of each sequence.  Finally, text was added and final grading was done, and the results are now posted on youtube... The time difference between when I finished a bulk of this work and actually closed out the project was due to a client hiatus. Sometimes things happen and when projects reach their milestone like this and the client is unable to give any feedback or communicate they are ready for another step forward in the project is when ultimately I am stuck sitting on my hands waiting to be told what to do.

Some insight: []  We shot this on a shoe-string budget, with a small schedule expecting a short turn-around.  I had all 4 commercials ready for the client to approve and deliver within the first 2 weeks but because of unforseen circumstances on the clients side, communication breakdowns occured and my producer and I were left waiting for approvals on things for almost 3 months.  However, most of the work was paid for (aside from some of the editing).

IF jobs like these pop up, always make sure to cover yourself legally, or at the very least as a work ethic demand payment up front in full.  If for some reason political aspects begin to play into the business end of things like getting paid for your work, you need persistence and follow-through to make sure you get paid.  I've learned this the hard way through the years of growing my business from the ground up.

I'm not saying this out of personal aggravation (though there was a little of that). I understand this happens and the catch here is learning not to take things like this personally, it's just business, and in the end whether you get paid or not you have only your sanity.  Roll with the punches, don't get angry when they hit you.  Keep on trucking, and do what needs to be done.

Wednesday, October 5, 2011

Zombie Appreciation

I cannot seem to find enough time in the day to get to this thing!  The last couple weeks have blasted by. 

I suppose first things first:  The first skit we filmed almost three weeks back was a Zombie skit in collaboration with Underpaid Heroes project with Troy Norcross.  The whole thing was improvised on location, not to mention slightly less than legal it turns out!


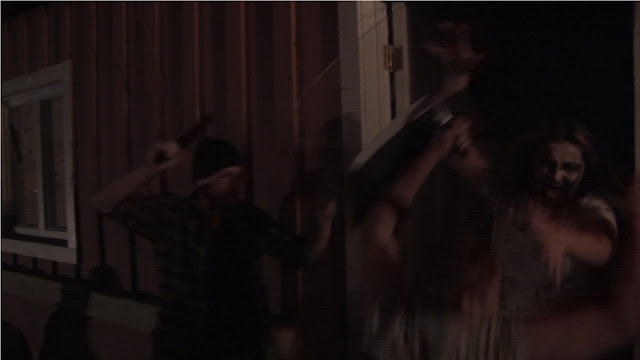
Troy led the skit idea,  It took us a while to get makeup done on 2 zombies.  A few hours longer than expected running the whole production on account of the Navigator battery dying because of improvised lighting with the cars and 1 mobile spotlight being run from a power inverter (yay for homebrew videography)!

We tried to race through a lot of the shots with a tight time-table.  Mok operated the Camera hand-held and I ran the Shotgun mic the same.  There was hardly any time to plan out camera angles and really understand what the group wanted to do action-wise.


We ran out of time to really make sure we got all the shots we wanted to make the scene complete on account of it being after 3 AM by the time we shot the last bits.  The next day we dubbed the tape to Premier and built a rough edit in just 30 minutes.


With only a mono audio source to play with there would be a limited pallete of real-world audio to play with and a lot of sound replacement.  I refined the rough edit Mok had done and proceeded to the visual FX for several shots that happen in the skit.


Getting to Picture lock was fairly easy with the minimal VFX shots we had to work on.  The final edit still needs bumpers and motion graphics for the titles.

While the picture was pretty much complete aside from those elements I headed to audio and proceeded to break apart the audio.


I quickly went through the audio from each of the takes to pull apart the vocals, and then find useful ambiance to overlay or if it included Foley for footfalls etc. I moved them into timing and copied the audio where necessary. I could only do so much with most of the audio, so I proceeded to then mark spots and add in sound effects for replacement, and then foley and sound effects for enhancement.


First, iZotope's Ozone 4 was used to analyze the entire audio track before any noise reduction was applied to capture the EQ profile of the Rode NTG-3 mic's on-location audio.  The next step was the most time consuming.

I had to go through one clip at a time for each cut I made in the timeline to analyze and apply noise reduction for each separate take that followed the take from the video.  Once the noise profile was captured for that take, I could simply copy the plugin to the next clip I cut.  The plugin is very processor intensive so I had to bounce each clip after the noise reduction was applied.


We also had to replace quite a bit of Voice work from the on-location audio as it was too compressed and the impact noises with the gravel and dirt muddy up the mix.  I setup my shotgun mic outside my room and had everyone record their parts to the video.  I then applied the Ozone EQ matching profiles to the new material.

I still have to head into surround mix, and compose the underscore to the skit and then apply the final film grading and review before it's done.

Not sure if zombie is zombie or clown...
fast zombie = fast...
Hit the deck!
Kaplow!
Who plow?
Homie don't play dat.
Horror scene, or eerie homo-erotic love scene?

Yup, eerie homo-erotic love scene..

So, I have to get back to my busy schedule.  I will definitely be adding more up very soon of the other projects I've been working on.  Now, off to gym!

Tuesday, July 19, 2011

As Promised... However Late.

I've just barely gotten the chance to finish working on the video blog's first episode and get it ready to post!  I spent the last few hours running into Exporting OMF issues and getting the import to work properly in Sonar, but alas I did get it in!

Sonar has been giving me a nasty time of not wanting to bring in ANY video format.  My final edits got made to the episode and I wanted to move on to Audio post and mixdown, but I wanted to find a workflow that would allow me to work inside of Sonar to utilize my vast array of processing techniques and let my experience with Sonar offer a speedy session.

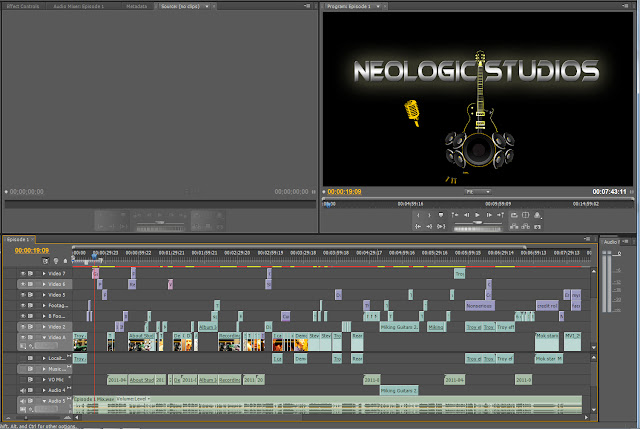
Working with Premier Pro has been fun and easy to learn.  I exported the OMF several times however because the settings I was using to export it didn't like to import in sonar and would give wave data errors on reading.  I found the correct method to export had to deal with encapsulating the audio in the OMF project file and that did the trick!


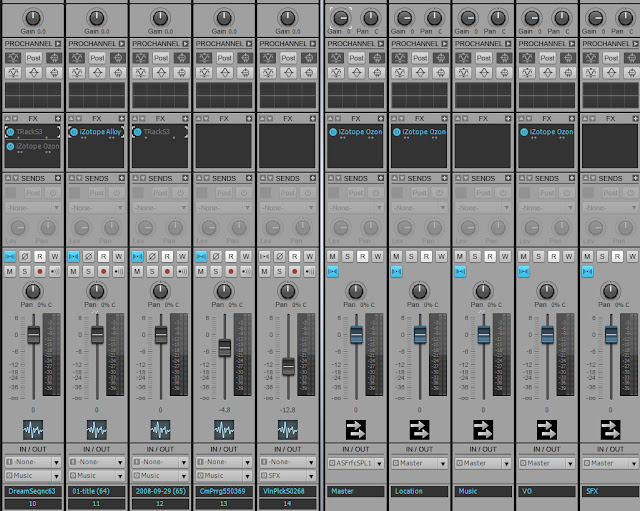
Now, I've been going through the various channels of audio I have to work with.  Because I originally started working to picture inside of Premier, I have a few music tracks I brought in and placed for effect.  On top of that, I have several channels made in stereo and mono to accomodate mixing the various sources.
  • Location sound: Audio recorded in-camera on-location during shooting.
  • VO: All the voice-over material recorded separately, whether to picture or ADR later.
  • Music:  The music tracks brought into premier in stereo.

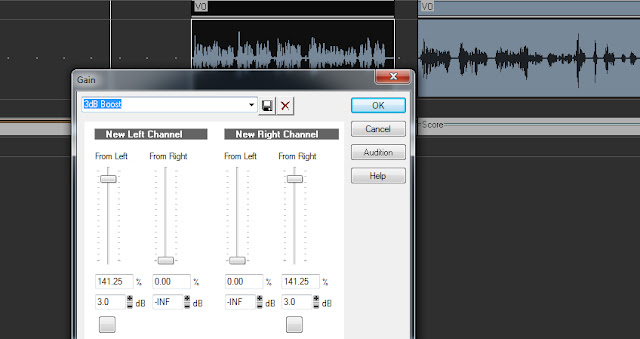
So, after creating some quick buses and routing the appropriate channels, I moved on to scouring through the various clips and correcting volume issues, simply applying a gain adjustment on each clip individually until overall they were within similar ranges.

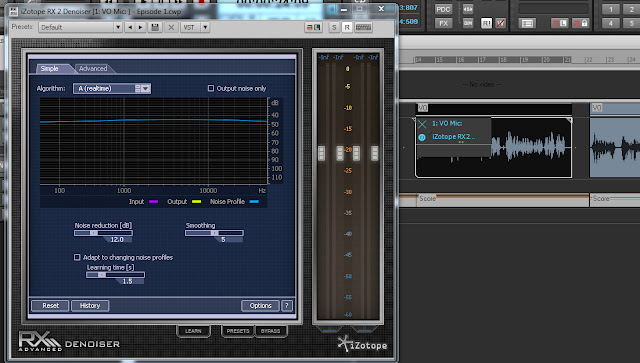
The next step involved noise reduction processing on each clip and going through each and applying denoising.  This took a little bit of work until I got reasonable results and just copy and pasted instances of the plugin across certain clips.

I had audio recorded with an external mic on location for some of the shots, that were in the same lane as the VO work I had done with Myke here at the project tank recently, both with different noise profiles.

I then bounced these clips individually to commit the plugins to audio and gain back valuable processing resources. 

Finally, on the buses I began to apply various compression and processing tools to get the whole mix to gel.  I wasn't done yet though.  I still want to get the picture imported so I can try to add some spice to the video, sweetener effects and foley to enhance the visuals.

I went on google to research the error window that came up when I try to import any video type, and I ran into this lovely little bit of information on the cakewalk forum .  So I went and checked out the little application they linked to called GSpot  and ran the utility.

It's A handy little tool to help with troubleshooting just this sort of problem!  While the codecs on my system are installed to view the video in applications like windows media player, they are 32-bit only and since Sonar is a 64 bit install, I went back into Premier and rendered out a 2nd video in the .AVI file type.

After about 10 minutes or so I came back to Sonar and the video imported and I got to work on starting the editing and mixing.

I spent quite a bit of time honing in on getting volumes adjusted between the buses and then automation became the name of the game.  There's a certain system I established later on in the evening for 2-3 different volume levels in the underscore where I felt it appropriate to differentiate between Myke's VO and the on-location voice and audio material.

I made one final pass through the whole project for a critical listening session and final mix-down began.

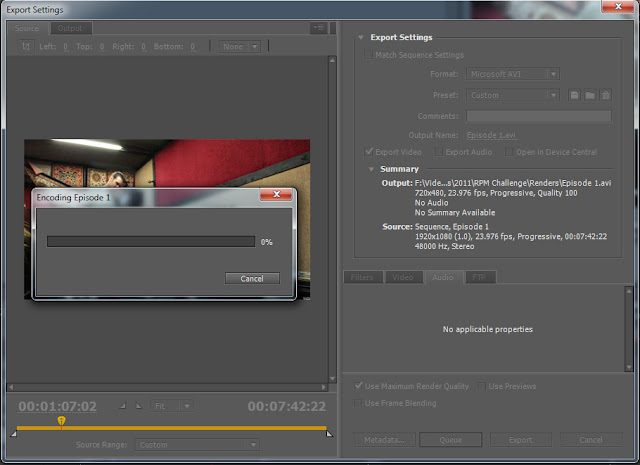
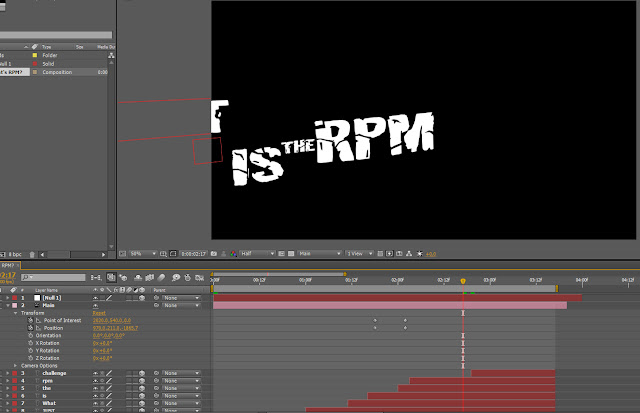
With the newly rendered master stereo mix in hand, I opened up Premier again and dropped the audio back in.  I wasn't finished yet though as I still needed to do some work on cleaning up the two animation sets in After Effects I had started a while back.

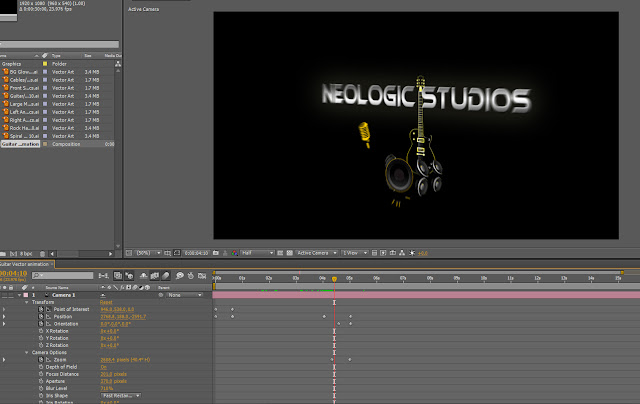
The intro title shot needed a finish to the animation, so I opened it up and ran into the snag that since the update to CS5.5 it had to recreate the file to appropriate the new version of AE.

Keeping Premier still open I was able to hone in on the timing I needed to get the animation just right, however quick it was.  I still feel if I had more time and were willing to try and do more with the title shot I'd take it a whole mile further and make it just pop out, but it's time to just finish up!

I committed the final changes, saved the AE project out, deleted the old link in Premier and dropped the new version in, and re-aligned it.  Next was the 'Kinetic Typography' animation shot.

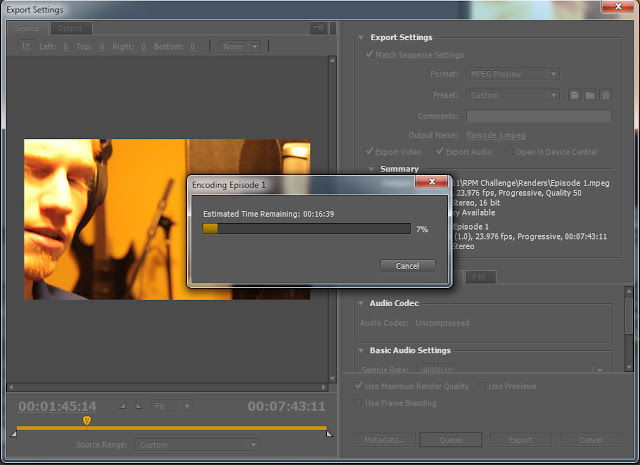
There was a few sweetener sounds I wish I could have found to go in some of the dead spots but I'll just have to remember my ideas for the next episode.  With the final touches finished I rendered out the video and headed for Youtube.


Viola, here it is for your enjoyment!