Tuesday, July 19, 2011

As Promised... However Late.

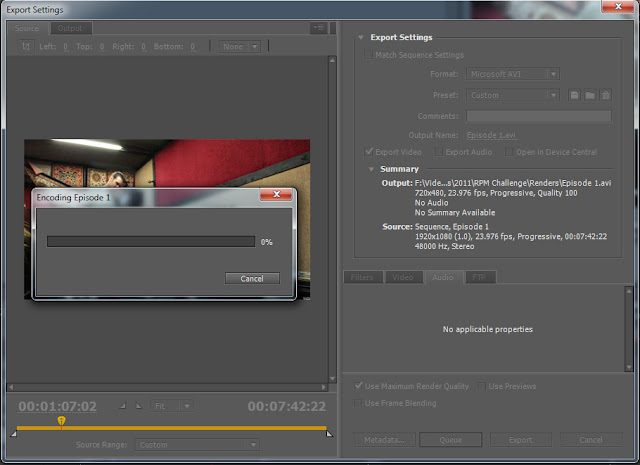
I've just barely gotten the chance to finish working on the video blog's first episode and get it ready to post!  I spent the last few hours running into Exporting OMF issues and getting the import to work properly in Sonar, but alas I did get it in!

Sonar has been giving me a nasty time of not wanting to bring in ANY video format.  My final edits got made to the episode and I wanted to move on to Audio post and mixdown, but I wanted to find a workflow that would allow me to work inside of Sonar to utilize my vast array of processing techniques and let my experience with Sonar offer a speedy session.

Working with Premier Pro has been fun and easy to learn.  I exported the OMF several times however because the settings I was using to export it didn't like to import in sonar and would give wave data errors on reading.  I found the correct method to export had to deal with encapsulating the audio in the OMF project file and that did the trick!


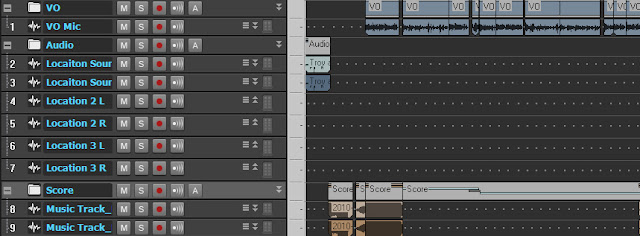
Now, I've been going through the various channels of audio I have to work with.  Because I originally started working to picture inside of Premier, I have a few music tracks I brought in and placed for effect.  On top of that, I have several channels made in stereo and mono to accomodate mixing the various sources.
  • Location sound: Audio recorded in-camera on-location during shooting.
  • VO: All the voice-over material recorded separately, whether to picture or ADR later.
  • Music:  The music tracks brought into premier in stereo.

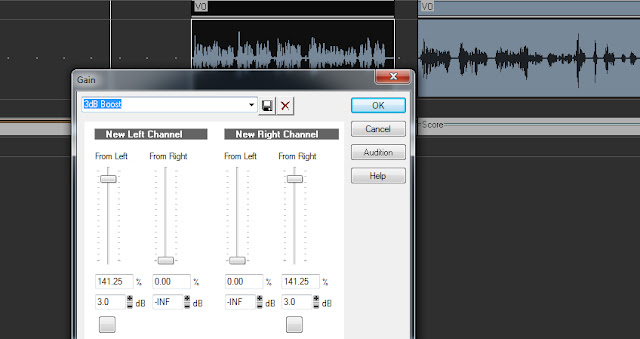
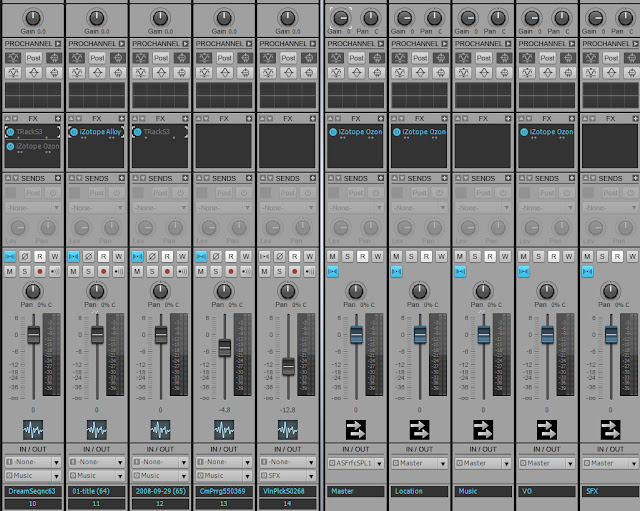
So, after creating some quick buses and routing the appropriate channels, I moved on to scouring through the various clips and correcting volume issues, simply applying a gain adjustment on each clip individually until overall they were within similar ranges.

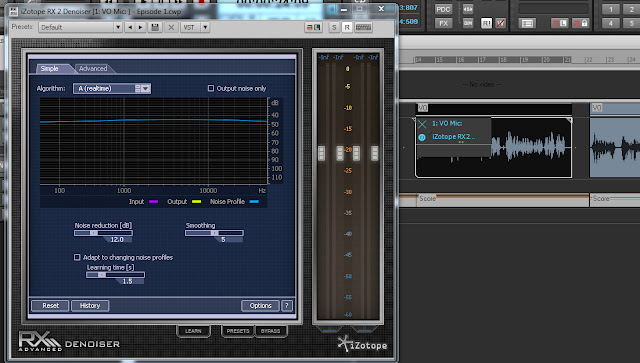
The next step involved noise reduction processing on each clip and going through each and applying denoising.  This took a little bit of work until I got reasonable results and just copy and pasted instances of the plugin across certain clips.

I had audio recorded with an external mic on location for some of the shots, that were in the same lane as the VO work I had done with Myke here at the project tank recently, both with different noise profiles.

I then bounced these clips individually to commit the plugins to audio and gain back valuable processing resources. 

Finally, on the buses I began to apply various compression and processing tools to get the whole mix to gel.  I wasn't done yet though.  I still want to get the picture imported so I can try to add some spice to the video, sweetener effects and foley to enhance the visuals.

I went on google to research the error window that came up when I try to import any video type, and I ran into this lovely little bit of information on the cakewalk forum .  So I went and checked out the little application they linked to called GSpot  and ran the utility.

It's A handy little tool to help with troubleshooting just this sort of problem!  While the codecs on my system are installed to view the video in applications like windows media player, they are 32-bit only and since Sonar is a 64 bit install, I went back into Premier and rendered out a 2nd video in the .AVI file type.

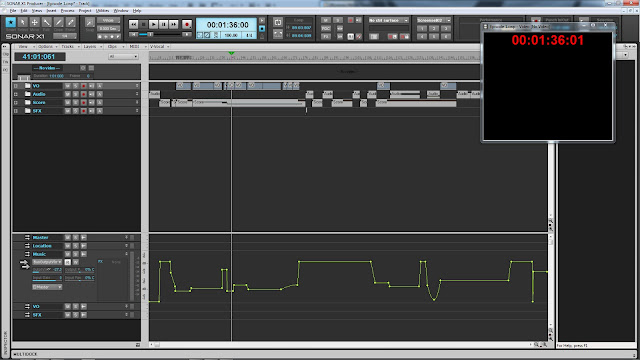
After about 10 minutes or so I came back to Sonar and the video imported and I got to work on starting the editing and mixing.

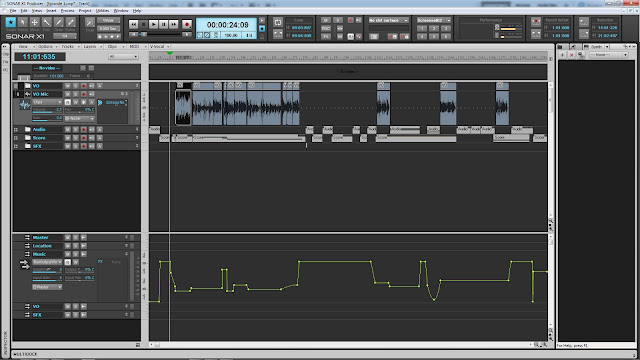
I spent quite a bit of time honing in on getting volumes adjusted between the buses and then automation became the name of the game.  There's a certain system I established later on in the evening for 2-3 different volume levels in the underscore where I felt it appropriate to differentiate between Myke's VO and the on-location voice and audio material.

I made one final pass through the whole project for a critical listening session and final mix-down began.

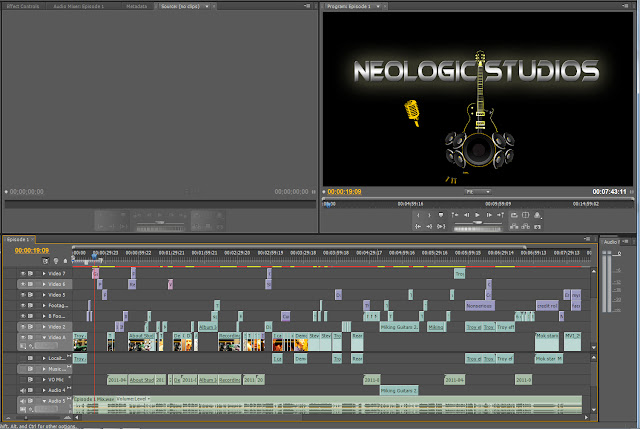
With the newly rendered master stereo mix in hand, I opened up Premier again and dropped the audio back in.  I wasn't finished yet though as I still needed to do some work on cleaning up the two animation sets in After Effects I had started a while back.

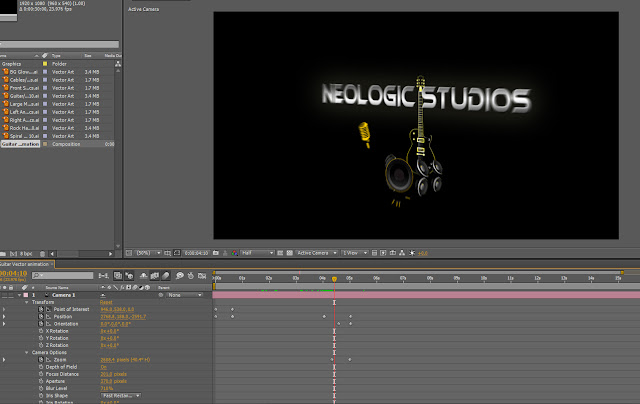
The intro title shot needed a finish to the animation, so I opened it up and ran into the snag that since the update to CS5.5 it had to recreate the file to appropriate the new version of AE.

Keeping Premier still open I was able to hone in on the timing I needed to get the animation just right, however quick it was.  I still feel if I had more time and were willing to try and do more with the title shot I'd take it a whole mile further and make it just pop out, but it's time to just finish up!

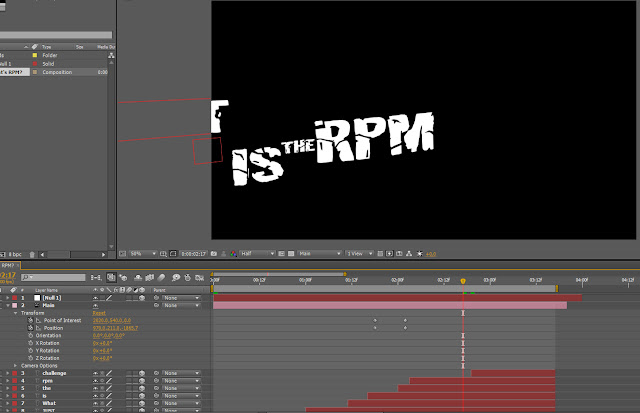
I committed the final changes, saved the AE project out, deleted the old link in Premier and dropped the new version in, and re-aligned it.  Next was the 'Kinetic Typography' animation shot.

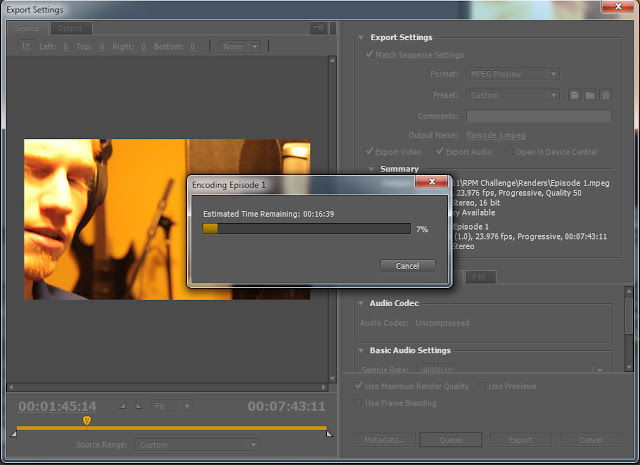
There was a few sweetener sounds I wish I could have found to go in some of the dead spots but I'll just have to remember my ideas for the next episode.  With the final touches finished I rendered out the video and headed for Youtube.


Viola, here it is for your enjoyment!


Wednesday, July 13, 2011

Ukelele aloha's...

Just spent the other evening with Troy doing a quick improv instrumental for Ukelele!

Wash My Filthy Hands by Neologic Studios

On top of that, I'm feeling quite productive today despite some personal aggravations...
I'm attempting to reload the first episode of our supposed video blog for final editing.  I have decided I want to develop a workflow for audio and since I plan on using Sonar, I'm trying to find the best way possible to export things for working to picture.  Perhaps I'll go in depth when i get a free moment.  Back to work on this orchestral mixing for a client!

Monday, June 27, 2011

The fiddler in my room!


Today will mark the end of a rather sudden, and quick project.  Troy and I got a call from a friend on Thursday about a recording job someone needed in a hurry; he wasn't kidding.  This client wanted a full album done over the weekend to have duplicated and ready to sell by the very next weekend for his tour across the U.S.

I know what you're probably thinking: that's a tall order, all the instruments, all the time needed to get sound dialed in...  Except, this client is not your normal modern musician.  Once we cleared up the client's request and our prices, we discovered he's a fiddler and his album is a solo project of his that he wants to be able to have a short run duplication on hand to sell at his events.

Troy and I discussed what we would want to do for the weekend about the project and opted to use my place instead to record proper acoustics.  Saturday morning we got up super early and headed to the studio to pack everything up and haul it over here.

After getting EVERYTHING set back up, we strolled right into mic placement and auditioning mics.  We started with 3 we really wanted to hear for the close mic.  However, Troy had arlready pre-determined (as had I) that the NT-K was probably going to outshine all the others, and we got started on a few other choices for capturing the natural sound.

I was lucky enough to get the room as quiet as we got it.  Aside from some minor inconveniences like an attic fan adding to the hum in the background raising the ambient noise floor to audible levels, the session started out in the middle of a terrible hour for traffic down my street it seems.  A couple of passing automobiles made its way into the tracks.  However, we made it through most without much a due about some sonic interruption.

The client wanted to record as many as 25 songs.  Most of the arrangements were on the Fiddle, while one or two would be on the Hardanger Fiddle, and about 5 or so more on the Nyckelharpa.  All the compositions originate from Sweden, and more are classical folk in nature than anything else.  Luckily, the client was well rehearsed with all that material so that in just a few hours we had completed all the songs.  Normally a major time constraint as such would be an impossible request to fill!
After we completed the recording, I discussed some options for duplication services which would allow us the rest of the day to get things in order while he got stuff together for his for album artwork.  He came back today to finish the artwork layout after choosing a duplication service based in San Francisco.  Close, extremely affordable, and short turnaround time!

After yesterday's session Troy and I took a break and did some running around, playing Super Smash Brothers Brawl on Wii, and then he left while I returned to editing and mixing the tracks.  I started with just roughly mixing the mics to see if I could get a good blend going on.  I found two distinctly different sounds with the options we captured.
  1. The classical sound: very ambient classical, retaind all the dynamics in good clarity and the sound was very soft and somewhat distant with the room mics bring the only two sources, panned hard left and hard right.
  2. A more modern, intimate sound: The modern day studio sonics we achieved with the mic we chose up front and center, pairing it with just the right choice of mic pre, and a discreet amount of compression in the mic pre during recording for needed sustain and color. 
This close mic brought out a ton of brightness in the instrument that isn't naturally occuring to our ears when hearing the instrument performed right in front of you.  The modern intimate sound with the center mic providing the main sonics for the mix, supported by the two room mics lowered in volume substantially with both feeding discreet left and right signals into a stereo verb Aux bus.

I resumed the project today and since this morning i've been editing beginning and ends, tails, fades, playing with denoise plugins and final master bus effects to dial in just the right sound.

As of now I'm getting two album sequences stemmed out for the client: one with all the tracks for his private copy and one sequenced in his specific order for duplication. Next, I will be headed into Sound Forge to do the final denoise stage to get rid of some particular unwanted background elements that had crept in on a couple of tracks. 

Dealing with denoise plugins can be risky business, because you affect everything. I found it surprisingly easy with the de-noise processor I'm using on the master bus to deal with the attic fan in the background.  I actually used this knowledge to my advantage and thanks to the sonic content of the fiddle and Nyckelharpa, the "air" in the mix was sufficient enough that when I applied the noise reduction processing it took it out just enough to soften the harsh hissing established by the close mic capturing the natural phenomena of a bow dragging across strings, thus allowing the melodic content to come through with warmth, and not be too bright.

It still didn't deal with the random artifacts I had found after hours of scouring through the material for them.  A few car rumbles and even a Harley Davidson had crept into the mix ever so slightly.  I would need to use a spectral repair tool to try and deal with removing these particular nasty artifacts, and this is where careful attention to detail is needed most because any changes made to the material can make it suffer just by trying to extract the unwanted material.

My first attempt at spectral repair was actually pretty easy and I pulled some clips for before and after comparisons.
  1 - before by cameron-bashaw
After some quick tweaking, and I mean quick; I was able to get fantastic results.  Just a little know-how and understanding of spectral repair can go a long way.  It's like Photoshop for audio!
  1 - after by cameron-bashaw
Another one I had a bit more trouble with as the fundamental in the bass frequencies was easy to find, but I couldn't find and isolate the upper octaves from the musical content without damaging it.
  2 - before by cameron-bashaw
This one took a bit of work, I found most of the low-frequency offending content and was able to eliminate it from the material, but the upper range in the offending noise I just couldn't find.  I know the tools are pretty in depth and with more time I could probably hone in on it and completely eliminate it without sacrificing any audible quality to the musical content.  I just ran out of time for this project.
  2 - after by cameron-bashaw

Having just finished the final master to hand to the client tomorrow, we got an awful lot done in two days!  Recording 23 tracks, editing, mixing and mastering, sequencing, album artwork design; the whole thing was a blast and we both enjoyed it!  We're hoping another uncommon act comes our way!

Sunday, June 19, 2011

Dizzy is as Dizzy does!

A lack of updates concerned me just now so I thought i'd share why.  I've been busy with life's obligations - desperately job-hunting; consolidating things and organizing things to sell off.  I'm also in the throws of wiping my computer.  I just finished reinstalling windows and am in the process of reinstalling EVERYTHING.   I even had to make a list a few pages long of all the things I needed to redo once windows was back up and running fresh. 

Mostly a due about audio: the plethora of virtual gear and several of my favorite daws, plus various other things making their way back on here could take a couple of days.  I've also had the urge to get back into painting practice with the tablet, as well as start working on demo reel stuff.  So much to do so little time. 

Expect to see posts soon about the video blog's first episode!  I may finally get it done, and the post will be up on the studio's youtube channel.  I believe Troy wants me to resurrect and finish another video project we did for shits and giggles. I'll warn everyone now it's extremely cheesey, even for cheese.  That post may come up soon as well.

After the maelstrom of random life events i've had to deal with the last couple of weeks - friends happenings, jury duty summons, family obligations, financial re-orientation; i'm just barely getting back to business and get back into the swing of things.  I can't wait for the film project coming up end of july!  More news on that soon.

As for now, I shall leave you all with a quick photo-manip I did of Troy.  Photography done by the amazing Michael Fowler! Thanks bud!

Thursday, May 26, 2011

Orchestration addict...

Half-way through the composition...  Took this screenshot a few days ago..  it's already MUCH fuller... time to do mixing.


If it weren't for the myriad of other things going on right now I probably would have this done a lot sooner.  I've been aching to get back to some personal projects. 

I've started 2 new tracks, one completely orchestral, and one symphonic hip-hop for Redhawk.  On top of it all  I have bills and jury duty coming up that I need to take care of.  Should be interesting to say the least, as the Jury duty date is set for just around the same time I am supposed to start working on a film project. 

On a side note, while on a trip up north last weekend with my family, I managed to work more on one of my story projects. Perhaps I'll post a glimpse of it on here sometime. 

But, in the meantime: orchestration has a plethora of sub-jobs that one has to do.

It's taken me a while to find good complementary sonics with the composition to play nicely with the metal part of the song so they don't sound like two disparate parts just playing together.

Yes, the song is over 7 minutes and 18 seconds... and this is just one of four that I have to work on.  I think the composition is complete as of now, just needs to be mixed down.

A hundred and seventy-two Channels later, there's stuff to consolidate and stuff to add i'm sure.  All I can say is DAYUM!  Hopefully orchestration gets easier from this point out.

Friday, May 6, 2011

A How to.. to do

I've decided I want to move the demo project I started in Ableton Live over to Cakewalk Sonar to develop further before things get too complex.  I've noticed Ableton doesn't support OMF, and while I enjoyed being able to easily compose with Ableton, there's a few things I like to start iteratively touching on with mixing and automation that will get lost in translation if I move too late from Ableton to any other DAW.

Before I start, let me say that I have a certain workflow I like to follow.  Most daws will have the capability of saving and loading universal .FXP and .FXB patches, but I like to save patches from within the plugin software so that I can load them individually.  I try to stay pretty organized, so any project I start immediately gets it's own folder sorted by date, archived in the year I started it.  In this case, the project resides on my Projects drive under the Audio section, and I keep things divided by client projects and personal projects, remix projects, etc...

The main project folder Ableton created resides in this root folder, and I have 2 folders that branch from here.  Once I create the Sonar project file, this root folder will become the primary project folder.
 
  • Resources: houses several directories to keep track of various project data
  • Renders: houses the rendered material, final stereo mix pre-master, mastered versions, wav, mp3 etc...
Resources Folder is where I keep 3 folders:

  • Audio: recordings, stems, edits, processed audio, bounces, etc...
  • Settings: saved patches for virtual instruments, effects, plugin data, External hardware patches, etc.
  • Midi: any midi material used in the project
So, with the folders in place, time to open Ableton:
 Now, take a look at the track list:
  •  Big T Drums is the primary drum instrument I use for the main beat.
  • Nexus Arp is the first mid-range synth that rolls from the intro throughout.
  • Nexus Bass is the 2nd synth that comes in the first bass pass in the arrangement.
  • DrumFX is the 2nd layer drums I use once the beat comes in to establish a thicker sonic signature for the first verse or motif.
  • 8-bit flutter is the 3rd synth in the list that comes in for the change-up: the 8-bit sound in the breakdown.
  • Tron Synth comes in way later in the song that I ended on the last time I shared the demo.  
  • Katakis Bassline is the buzzy bass synth that I used for the chorus.
  • 8 Vanguard is a synth I loaded up and haven't even written anything for but plan on using the patch I made at some point.  While I don't have any midi material for this one i want to keep it in mind as I'll be saving and loading the instance in Sonar as well.
  • 18 Violins is an EWQL Symphonic Orchestra patch I used for the chorus, a staccato patch that I will have to save out as well because I tweaked the settings for the mix from within the 3 layers (C, F, and S mixes for close mic to far ambient mic).  This one I may play with a bit in Sonar once I get it in there, but for now I'm not worried about the mix as I'm just going to extract midi and patch data, no audio necessary.
  •  10 Violas is also an EWQL Symphonic Orchestra patch I used for a supporting line under the Violins during the chorus.  This one also has a custom set of paramters I used in the patch that I will save out for import into Sonar to keep the mix sounding similar.
  • 11 Geist is exactly that...  I haven't shown anyone this part yet, but it's some drumwork I'm starting that goes well with that Tron synth mentioned above. Geist is an awesome tool once you get used to the interface.  It feels (at least to me) more akin to the drum sequencing ability of Reason, albeit more more complex and rich.
  • 12 Geist is another instance I brought in to load a completely different set of complementary samples for a layered drum sound.  I think the change up will be nice once I get it going.  Geist has several features that I've already started playing with and programming material to.  

I'll get back to these later though.  For now, it's  time to start exporting everything.
Naturally I'll start with the first in the list.  Ableton's module section has a neat little interface that makes it very easy to save the patches and banks:
Right where it says New Multi, to the left of it the diskette icon will let you easily save the current preset or bank as a universal FXP / FXB file.  So, I saved the FXP file out, and labelled it appropriately.  Now, I like to take things one step further and have all my options covered.  I opened up the instrument:
 
 And I save out the instrument's proprietary patch preset:
The intakt engine saves out the patch as a Native Instruments .NKI file.  So, using a simliar naming convention I end up with both the FXP file and the NKI files respectively.

I repeated this process for every instrument patch. There are a couple of instruments I have a small effect chain going on.  The Nexus Arp track has an instance of Nexus going into an instance of Sony Oxford EQ for it's filter pass.  Nexus is interestingly simple in that it's native to the FXP and has no direct patch saving options.  
So, for nexus I just have the FXP file to save out my custom patch.  and the Sony Oxford EQ I loaded the Type 3 Classic Soft preset, but then tweaked it for the band-pass effect.  This one I can save out two ways as well.  Before I do this I go into my resources / Settings folder, and create 2 more directories; one for instruments and one for effects.
This allows me to keep things more organized and easier to find when I start importing into Sonar.  Sonnox EQ has it's own proprietary file type:
Saving as a new preset reveals the home directory where the program keeps its preset files.  I won't be saving this there as I only plan on using this EQ setting for this particular project.  However, if I find this setting to be pretty commonplace in my mixes I can easily just copy it back to the root folder and name it appropriately for future reference.
 The same thing applies to the Addictive Drums kit modules: it too saves out proprietary files.
My custom Thumpy Tunnel Kit gets an FXP and ADPreset file.  Again, the program reveals the home location for storing user and factory preset files, which show up in the drop menu within the VST if you save or change the presets in any way.  I will still just be saving this preset out to my project directory:
The instance of Nexus I use for the buzzy bassline during the chorus has an effect after it.
When it comes to the two strings sections, I have a Linear EQ I dialed in on one, copied over to the other as well, so I only need one preset saved out for the EQ:
Even with the custom kontakt engines, they use the standard Kontakt Multi format for saving out the presets.  I saved out the multis and while they reveal their home directories for the multis I don't need to save them for reference later..  Off to the project folder they go.

Now, remember I mentioned I would get back to Geist?  Here's why.  Geist is pretty complex, it pretty much has it's own sequencer and can be a full-fledged DAW in it's own right especially when it comes to live performance.  It's a very unique tool.  The first thing I'll do is the usual: FXP
 
I noticed there are numerous saving options within Geist.  I saved the Preset out to the .geist file respectively.  While it has a lot of options I'm just concerned with it loading the proper samples for the midi to trigger.  but since I also used Geist to program the drum patterns and created several scenes within 2 of the instances I opened.  I also want those drum patterns saved out to their own midi files with appropriate naming conventions.  Later on, i'll come back to Geist and go through the various patterns and save them out as individual midi files.  Speaking of which...


Ableton lets you bounce out any midi track on the timeline as it's own midi file.  Which is pretty useful especially for moving projects on the fly, but if you're further along into a project than I am above, and say 40+ midi tracks, it can get pretty unwieldy as well as time consuming.

Before I open up Sonar, I'm going to go double check all the material I have and make sure it's all in order.

To re-iterate: I have 2 folders inside the Resources folder which resides inside the project root folder.  Midi and Settings folders now house all the preset patches I just exported.
Notice there is one additional folder.  While I was working with the first Geist on creating patterns I went ahead and saved out each of the various patterns to their own midi files, but I also used those to import back into geist's track within Ableton to play with their arrangement from within.  Therefore that is why I also have a midi file for the Geist track as well.
I don't have too many presets to work with, but if I were working on a bigger project I'd just create folders for each instrument, name them after their corresponding track name, and save their presets inside those folders.  Stormbreakz actually saves out the samples when you save the multi file so it created the folder up there.  Not bad in case one might need to transport the module somewhere else for use inside a different DAW on another machine

All the Kontakt and intakt based instruments have the ability to save out multi files as patches only, patches with a sub-folder that saves all the associated samples, and a monolith file which packes the samples into the preset file itself.  Very useful for many reasons, however when it comes to copy-protected patches they may disallow the ability to save samples out or save monolith files.

The Effects presets aren't numerous, but they're easy enough to understand.  Again, I only have 1 LP64 EQ preset for both of the string patches because I copied the same preset to both.
Now, there's one more effect i'm missing but it's not necessary to save as it was just a factory patch that comes with T-Racks 3 Deluxe.  I put the effect on the master bus just to give me some idea of the final product (roughly).  Since I don't plan on using that exact same patch it's not necessary to save it out.

Sonar finally gets to load up.  While I wait for it to load my plugins let's talk about project versions.  While I may have started in Ableton, I try not to delete anything.  If the project in Ableton contained audio or a lot of information I'd probably just pack it up into a zip or rar file.
The new project dialog appears and I enter in the information, I also gave the project a name: Code Black... seems appropriate.  I point the project to the right location, and then the audio path I moved to reside inside the resources folder as well, so it would look like Resources / audio.

The project comes in as a blank template, and I add in the tempo information.

My projects in Sonar always work in 96k, 24 bit (just out of habbit).  I learned a valuable sampling lesson long ago when dealing with time stretching and sound design with audio that's pretty much become my adopted rule for pretty much everything I do.

However, there are always exceptions to that rule, for example the orchestral projects I'm working on for a band right now are in 44.1k 24 bit as no time stretching or sound design manipulation will be done to the orchestra, and the engineer the band is working with has the projects in that format so that's what I'll be bouncing all the multitrack stems as.

Back to my project.  I'll start by importing all the drum and percussion stuff.  I create the Stormbreakz instrument.
It creates 2 tracks in a folder, but i'm going to use the folder a different way.
I'm going to use that folder to house all the percussion tracks together, and label them based on their instrument name.  I haven't worked with Geist much yet, but there are 15 stereo sub outs beyond the master stereo output from it, which could come in handy if i start using geist for more than just drum programming.  Also, Sonar can split up the stereo into individual mono tracks so if I use the outputs as individual channels of audio to route the various sample pads through I could essentially have a multitrack drum section.  The same goes for Addictive Drums as it too supports multi-out.  But for these tracks I don't need to do any in-depth mixing of the drums (at least i don't believe so at this moment).  For now, i'm just going to use the stereo master outputs from these.
Up next, Bass.  I only have 2 bass synths I used so this should be quick:
Not bad, all my synths are up next:
Now here's where I'm going to change things up and this is why I saved both the FXP preset and the multis separately.  I'm going to load up Kontakt 4 instead of the East West individual plugins, and i'm going to have 3 stereo outputs for each because of the different mic positions each output provides, thus allowing me to better control the sound when it comes time to mix.
I do the same for the Violins. 
What i like about the fact that I saved the multi this way is that my edits to the individual volumes of the 3 mic positions is saved from what I did in Ableton to get it to sit in the mix a little better, and thus saving me time trying to get the strings to sound the same in Sonar.

Now that I've got all my patches and tracks set up, time to import midi.  Simply dragging and dropping the midi files over the very beginning of the timeline window in the row for the midi channel allows sonar to automatically place the midi at the right starting point for where those drums come in.
I simply repeat the process for all the instruments.  However, because of the way I saved the midi info in Ableton, when I drop the midi onto the track, everything starts at the same time, instead of the measures where they should start.

So, let's go back into ableton and make some notes about what measures each instrument starts at.  The stormbreakz material comes in at measure 9, the first bassline synth at 13, the 8 bit flutter effect at 25, etc..  I got all the midi material lined up.
The last phase is to add in the effects on the appropriate channels and then the project is completely imported!
I added the Sonnox EQ to the intro synth, and loaded it's preset.
The 2nd to last thing I would have to do is re-do the automation I did in the Ableton project for the buzzy bassline.  The Ableton project had a volume change during the breakdown fill, as well as the mix level of the Filter Freak plugin.
The volume automation is a 4dB drop from -6 dB to -10 dB.
The Filter Freak Automation looks like this in Ableton:
Simply hovering your mouse over the automation nodes will reveal their attributes, in Ableton it shows the first node at .10, and the 2nd node at .18 but opening up FilterFreak1 and moving the timeline playback bar to the node shows the FilterFreak Mix knob at 10% for the first node, and 18.2% for the second.  I match this automation in Sonar:

Now, I can just recall the same levels I had roughly mixed in Ableton for all the instruments, and instead of dropping 2 instances of the LP64 EQ, I'm going to create group buses for the various instruments and then put 1 instance of the LP64 EQ on the Strings bus.  The busing is pretty simple for this song so far:
I route each of the mic positions on the strings to their own group buses and then those buses to a Symphony stem bus.  Everything else is pretty simple.

I'll add an update on soundcloud once I get further along with where I want to go with the new section.